
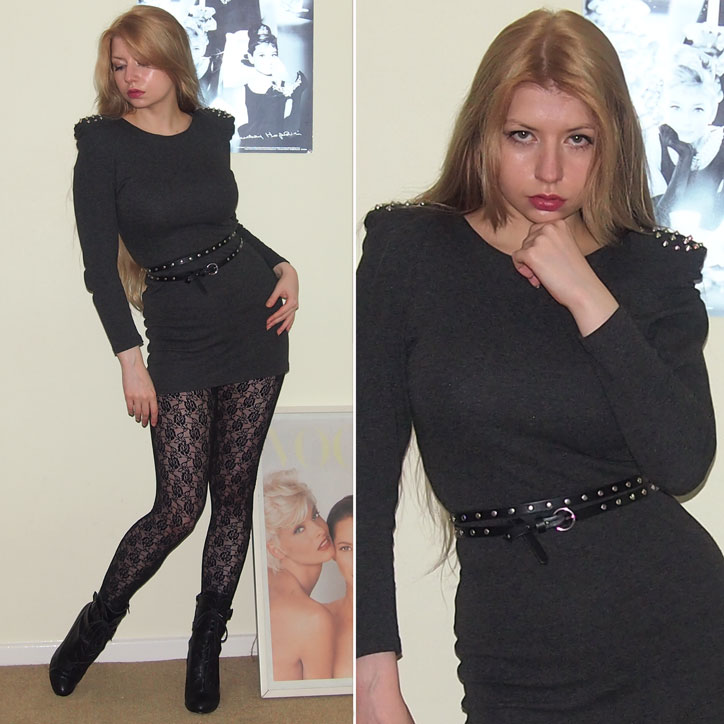
Dress: Primark, Belt: New Look, Leggings: H&M, Boots: Peacocks (All Past Seasons)
Tips and Tricks
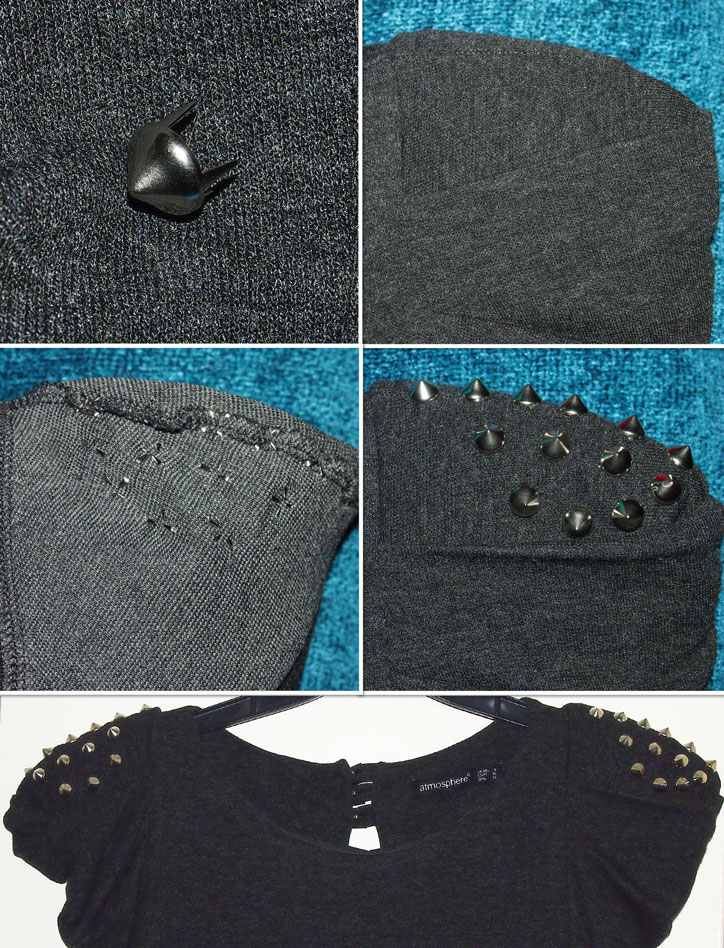
- I chose claw rather than screw-type studs for maximum ease (when working with woven fabrics, you can just poke their little legs through and then tuck them under, without making holes first - with something like leather, I assume screw-backs would be best).
- Shoulder pads help to maximise visual impact, keep your spikes pointing in the right direction and cushion your skin against the fastenings - I was really lucky that this dress (which you can see in its original incarnation in this post) already had shoulder pads sewn in along just one edge, so it was easy to flip them up to secure the studs, but I'd definitely consider adding my own in future.
How To
- Decide where you want to position your studs - I wanted a cluster on each shoulder for a bit more impact, but used a baseline of 6 along each top-seam as a starting point. If you want to be a perfectionist about it, get your tape measure out and try marking where you want the studs to go with a highlighter or something (inside) - I was far too impatient for this, but my more haphazard method did result in quite a few errors and re-dos before I was happy!
- Carefully poke the stud's "legs" through the fabric, flip garment inside out and press legs down and in to secure (I used a knife handle).
- That's it! Turn your masterpiece inside out and pop it into a pillowcase or "bra bag" on a handwash cycle when it's dirty, but other than that, just try not to poke anyone's eye out!
I'm really pleased with the results, and think this could very easily turn into a bit of an addiction - I already have a mental list a mile long of other things in my wardrobe to attack! And I've got lace, pearls and enamel flowers lined up ready for a day when my newfound inner craftress might be feeling a bit less dominatrix and a bit more Disney princess - watch this space!
How do you feel about DIY? What projects are on your to do list?


What a GREAT idea! The studs are a little youthful for me .. but it's a fabulous way to get the style you want at an affordable price.
ReplyDeleteMonica
http://pear-shaped-gal.blogspot.com/
Thanks Monica :) Yes, and it gives you so many more options and choices too, I'm definitely a convert!
DeleteGreat diy! I absolutely love this! :)
ReplyDeleteAh thank you gorgeous :)
DeleteReally a good idea!!!
ReplyDeleteXOXO
Arianna
http://aryannastyle.blogspot.it/
Thanks Arianna :)
DeleteWow! thanks for posting this. I love spikes too and I might try your brilliant idea!
ReplyDeleteI also like your pro modelling poses;)
XOXO
Ty
Pls. check out some of my looks on BestTrendsForever.com
Haha thank you! Will check out your site now :) xx
DeleteWowww, you have a KILLER body.
ReplyDeleteI just followed your blog, please follow me back! :)
www.shewearsthetrouser.blogspot.com
Aw thank you! Will check out your blog now :) xx
DeleteIt's a cool, simple DIY! I love the stud detail and how you wore it :)
ReplyDelete-Che
style-che.blogspot.com
Ah thank you honey :)
DeleteThank you Nicole, just visited your blog, would love to!
ReplyDeleteHi love,
ReplyDeleteGladly follow you back via gfc and bloglovin. Thanks so much for your friendship :)
Many many kisses,
Nicole
www.nicoleta.me
You could be a professional model. I'm serious. Your very pretty.
ReplyDeletezane
Thank you!
Delete